
Submitting Your First Job
This section walks through submitting a test job to verify that:
-
SPC is correctly connected to the RIP Server
-
Jobs can be processed through the RIP pipeline
-
Output is successfully generated
1. Prepare sample files
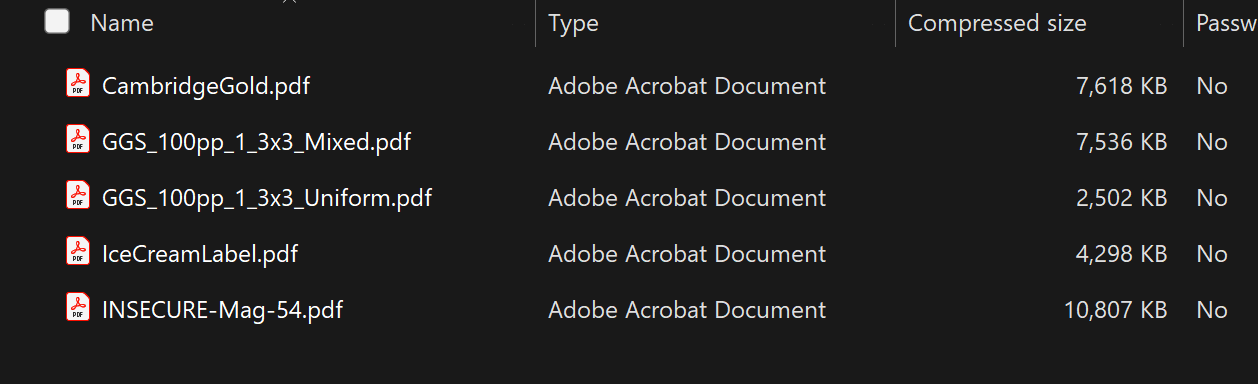
You should have received a file:
SamplePDF.zip
This contains test PDFs for validation.
Extract the files
-
Extract the contents to a local folder
(e.g. Desktop or another working directory)
You must extract the files first.
SPC cannot process PDFs directly from a compressed archive.
2. Verify system is ready
Before submitting a job:
-
Ensure the connection status icon is green
-
A green status indicates SPC is connected to the RIP Server and ready to process jobs
3. Memory availability
Before starting a print run, ensure that sufficient system memory is available.
SPC provides a memory status indicator (“chip” icon) to show whether the system has enough free RAM to process jobs.
Memory status indicators
-
🔴 Red
Insufficient free memory to start the print run.-
The job cannot be started
-
Free up system memory before proceeding
-
-
🟠 Amber
Minimum memory requirements are met.-
The print run can start
-
Large or complex jobs may fail due to memory constraints
-
-
🟢 Green
Sufficient memory available.-
The print run can start
-
Most jobs should process successfully
-
Viewing memory details
Hover over the memory status icon to see:
-
Required memory
-
Currently available memory
Recommendation
If the status is red or amber:
-
Close unnecessary applications
-
Increase available system memory where possible
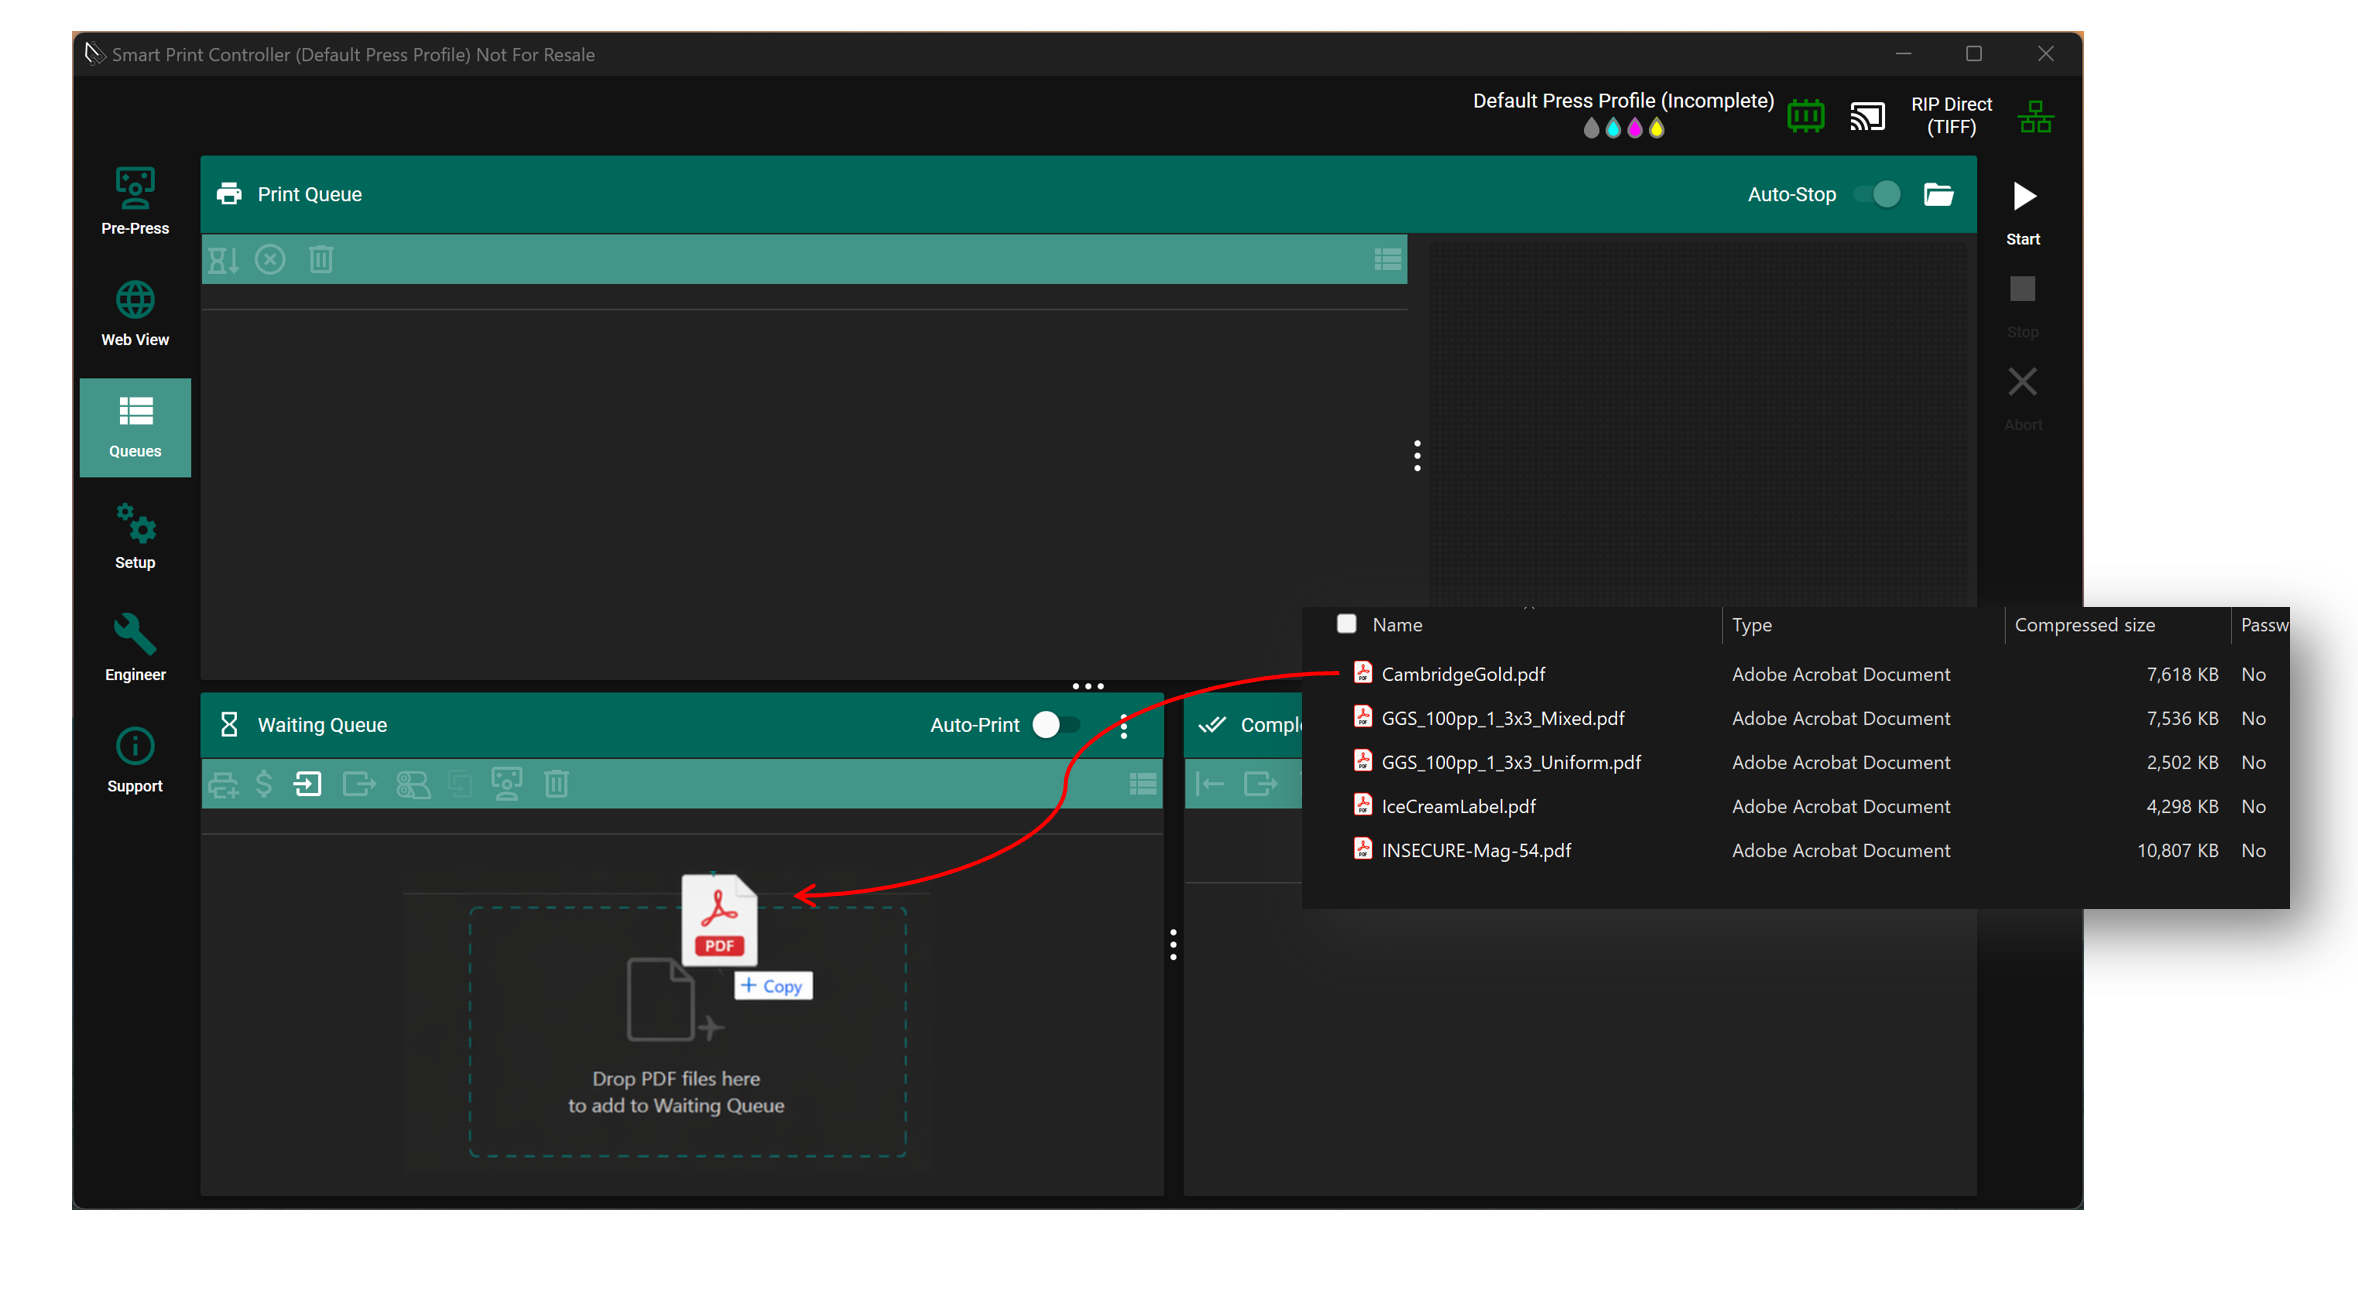
4. Submit a job
-
Select a PDF file from the extracted folder
-
Drag and drop it into the Waiting Queue
5. Start the print run
-
Move the job to the Print Queue:
-
Click the Up arrow next to the job thumbnail
-
-
Start processing:
-
Click the Start button
-
Expected behaviour
-
The Start button is highlighted
-
Stop and Abort buttons become available
-
The job enters the processing pipeline
6. Monitor job status
The job progresses through the following states:
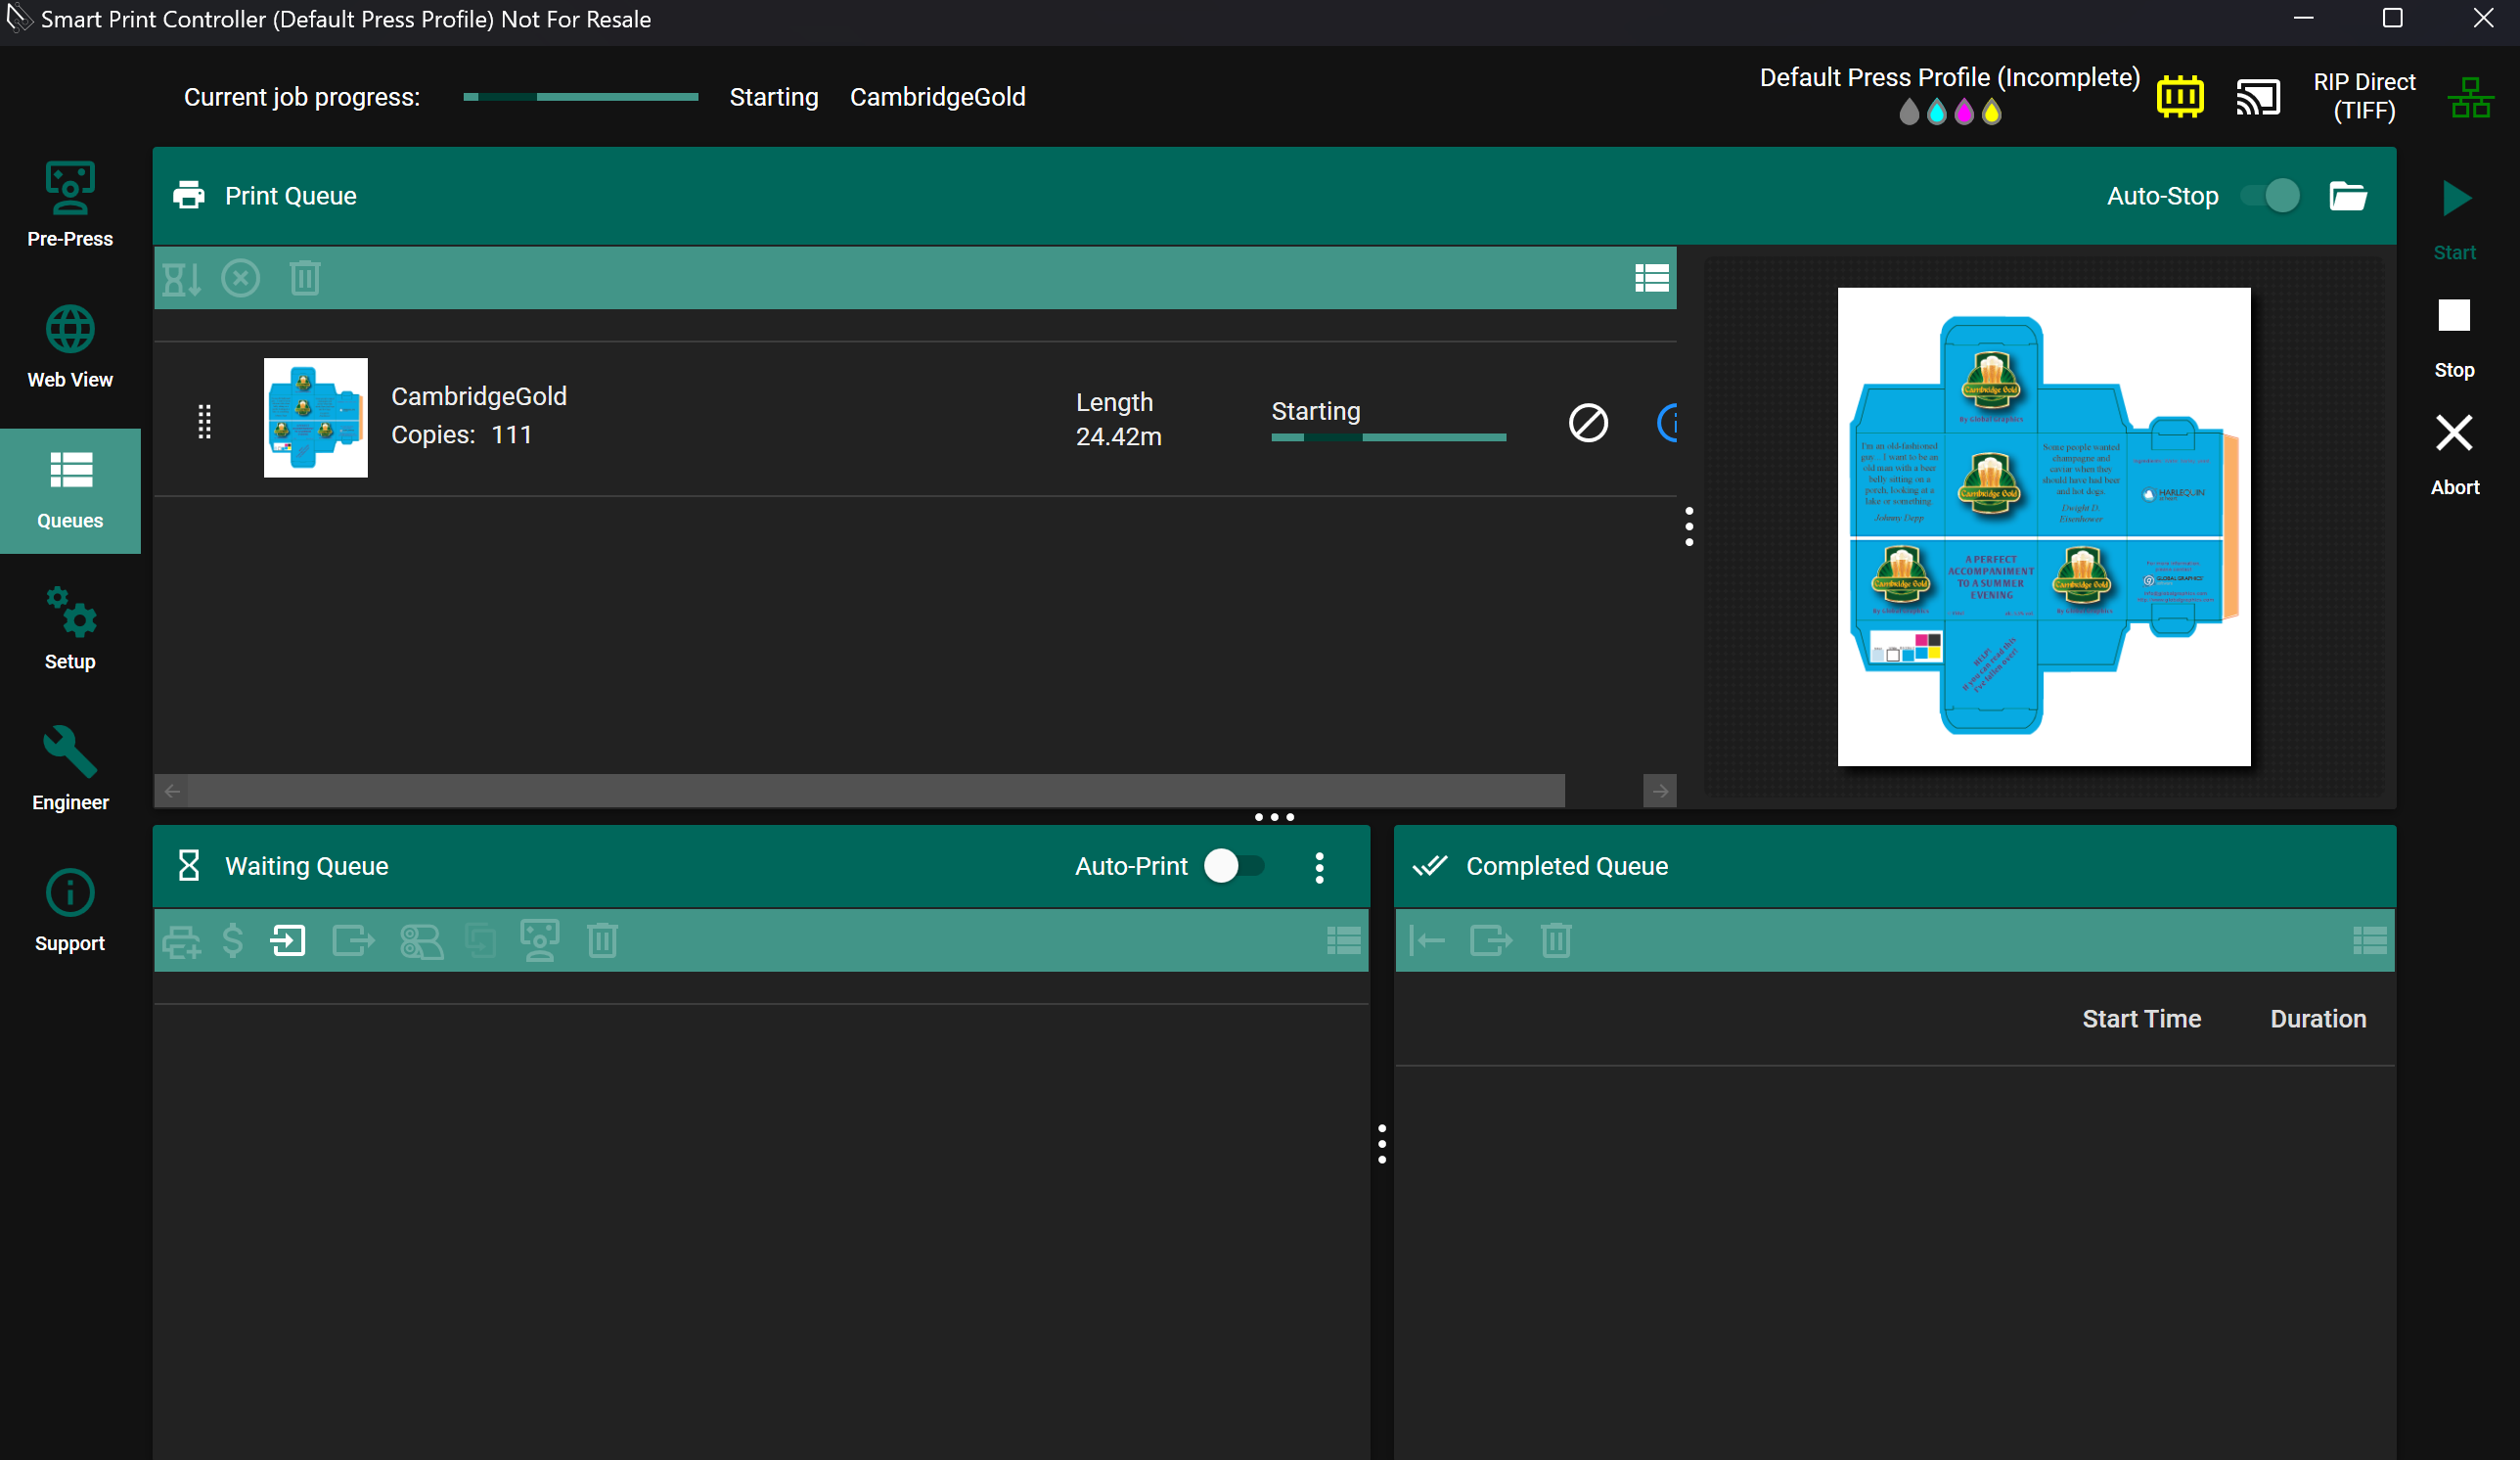
Waiting Queue
     ↓
Print Queue
     ↓
Starting (job submitted to RIP)
     ↓
Printing (output being generated)
     ↓
Completed Queue
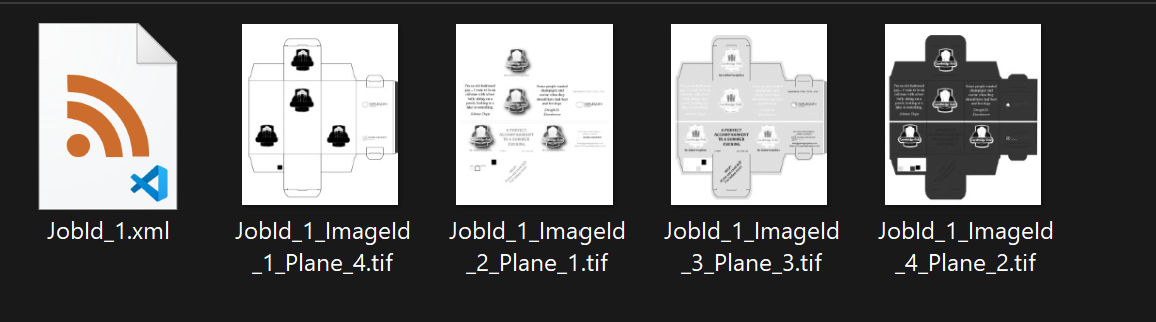
7. Verify output
After the job completes, output files are written to the output folder.
Click on the folder icon at the top right near the start button to open the output folder in File Explorer.

Expected output
-
For a single-page PDF:
-
4
.tiffiles are generated (CMYK separations)
-
-
For a multi-page PDF:
-
4
.tiffiles per page (CMYK separations)
-
This confirms that the RIP, screening, and output pipeline are functioning correctly.
8. Troubleshooting
If the job does not process as expected:
-
Confirm connection status is green and the memory indicator is not red.
-
Ensure PDFs were extracted from the ZIP file
-
Check the RIP Server log for errors
-
Verify output directory is accessible
9. What to do next
Once you have successfully processed a test job:
→ User Guide (SPC)
This covers:
-
Job management
-
Configuration
-
Advanced system operation