
Getting Started with Smart Print Controller
This guide walks you through the minimum steps required to get Smart Print Controller (SPC) installed, connected, and running your first job.
By the end of this section, you will be able to:
-
Install and license SPC
-
Connect SPC to a Harlequin Direct RIP Server
-
Submit and run a basic print job
Before you begin
This guide assumes:
-
You will use the local RIP Server installed on the same PC as the press controller.
-
You are working in a development or integration environment
-
Required installation packages and licenses are available
Setup and first job workflow
Follow these steps in order:
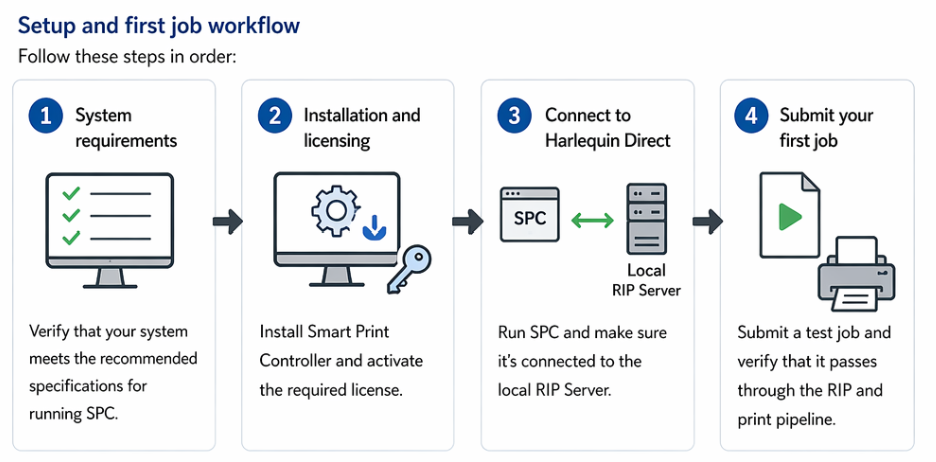
Steps
1. System requirements
Verify that your system meets the recommended specifications for running SPC.
2. Installation and licensing
Install Smart Print Controller and activate the required license.
3. Connect to Harlequin Direct
Run SPC and make sure its connected to the local RIP Server.
4. Submit your first job
Submit a test job and verify that it passes through the RIP and print pipeline.
What to do next
Once you have completed these steps, continue to:
→ User Guide (Smart Print Controller)
This provides detailed information on:
-
Job management
-
Configuration
-
System operation